
IOS application developer certificate
|
Open page : https://developer.apple.com , click to enter Member Ceneter. Interface shown after login , if not the options(Dev Centers, Certificates, Identifiers & Profiles), that maybe your account is not currently logged developer , you need a developer account login will have.
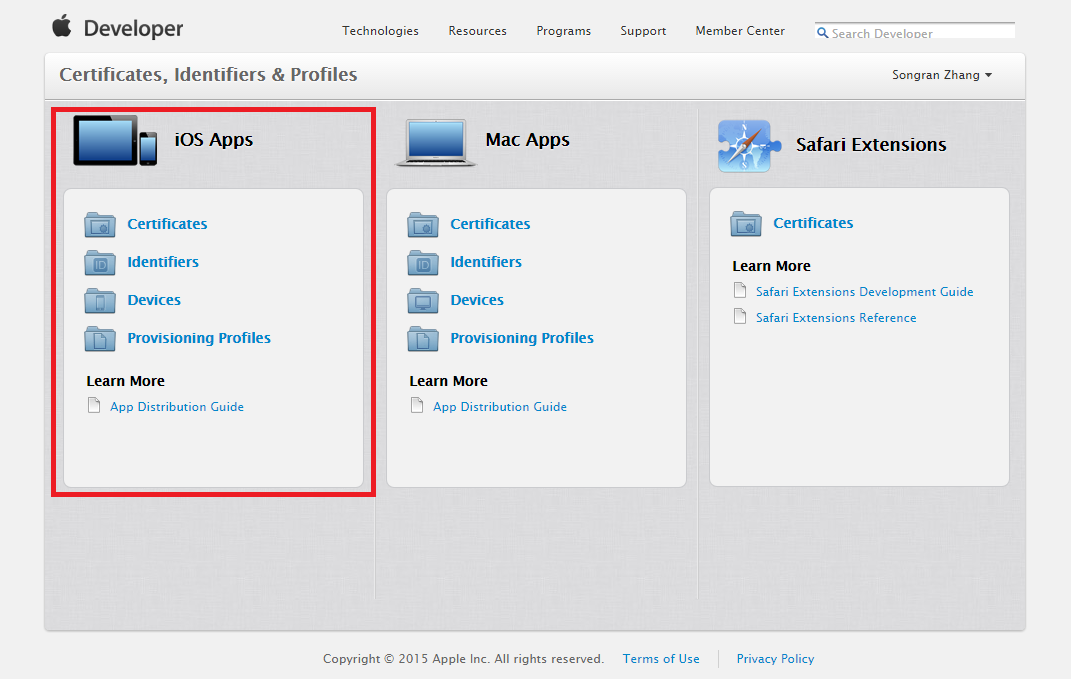
Click on "Certificates, Identifiers & Profiles", enter Certificates screen. We'll see on the left "iOS Apps" Here are four options : "Certificates", "Identifiers", "Devices", "Provisioning Profiles".
First, click on the first "Certificates" under the "iOS Apps" menu.
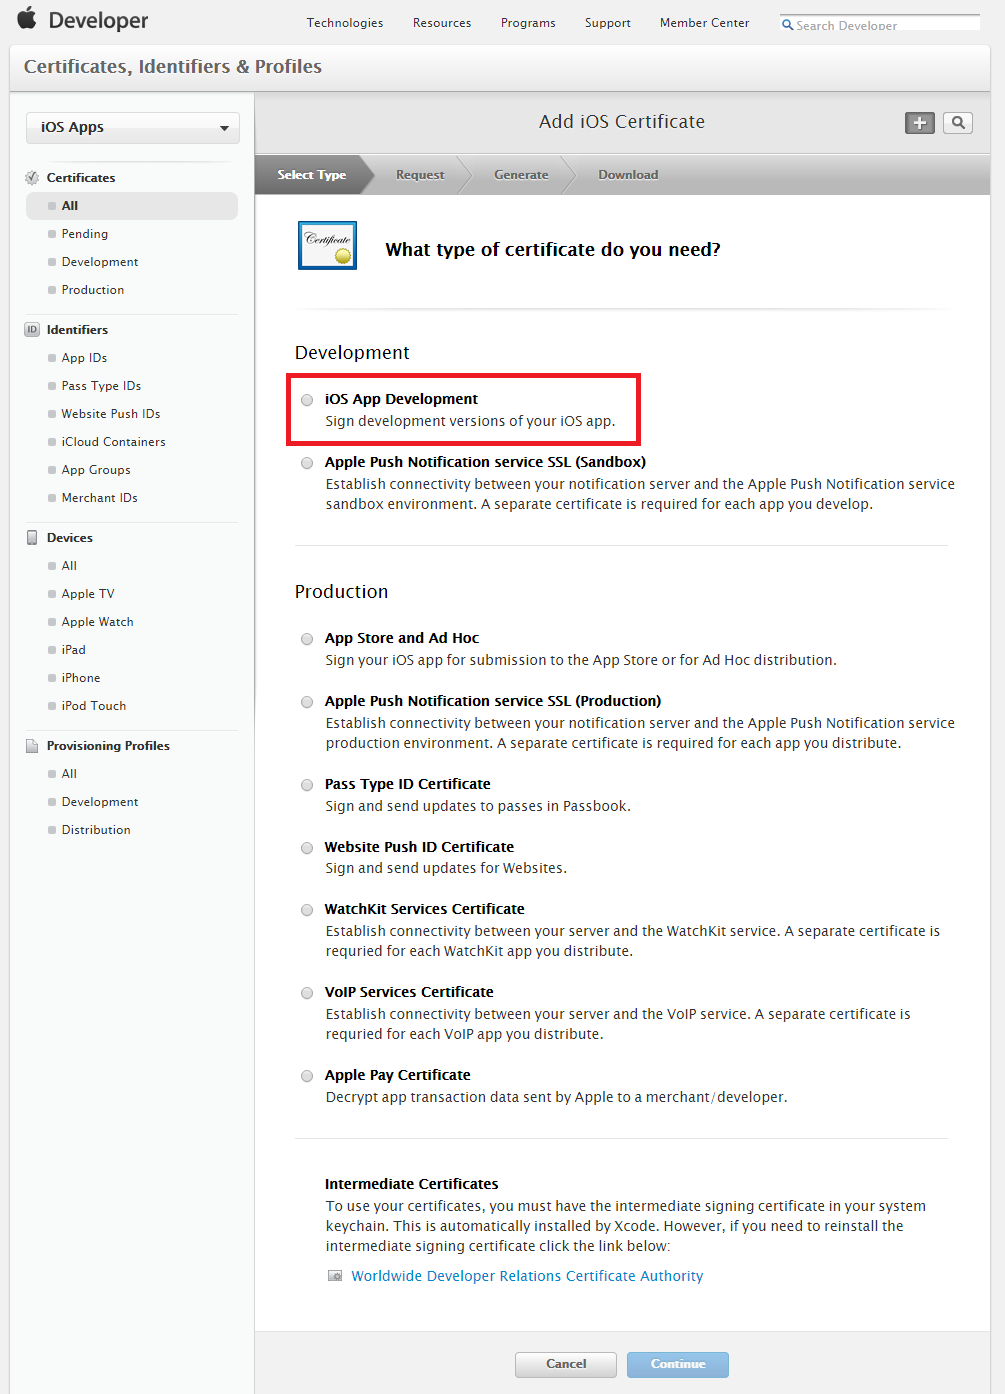
After entering the interface, the left column specific directory that we just saw in the previous four options, the right is the corresponding directory "All" inside details "Certificates" under the current directory is the authorization certificate. Click on the top right of the "+" No authorization certificate creation .
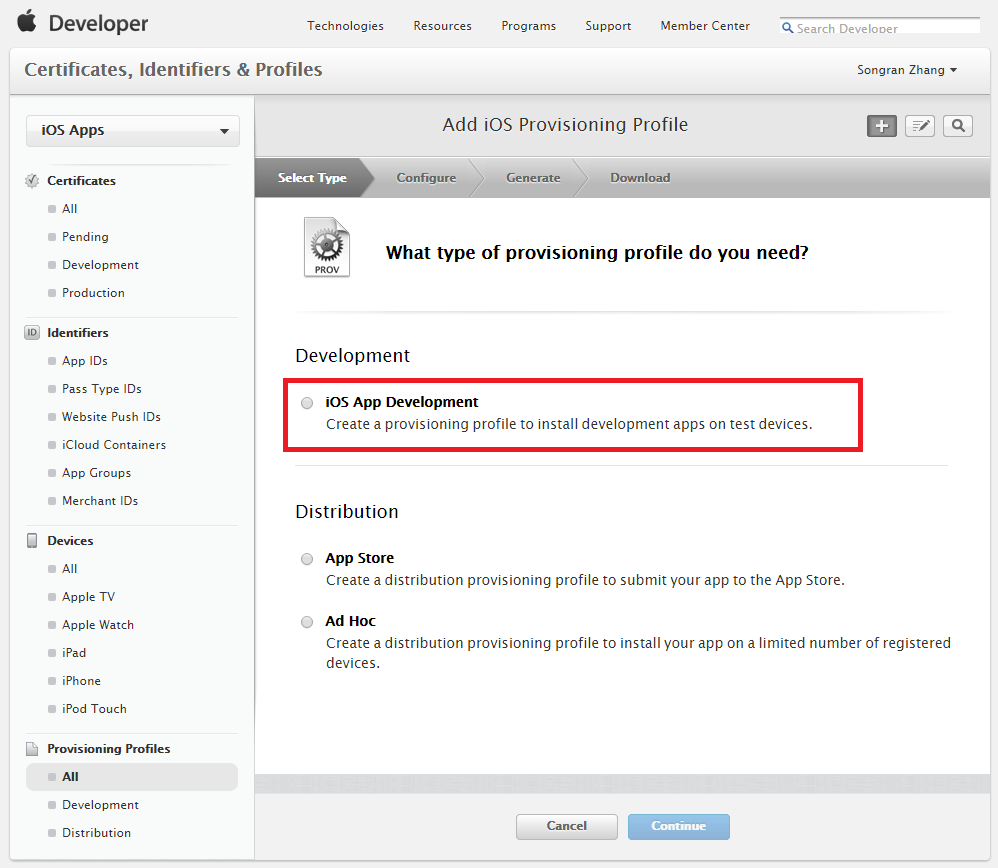
Then we will see the following interface, we choose "iOS App Development" under "Development" the conduct device debugging computer authorization request. Then click the bottom of the "Continue" were created.
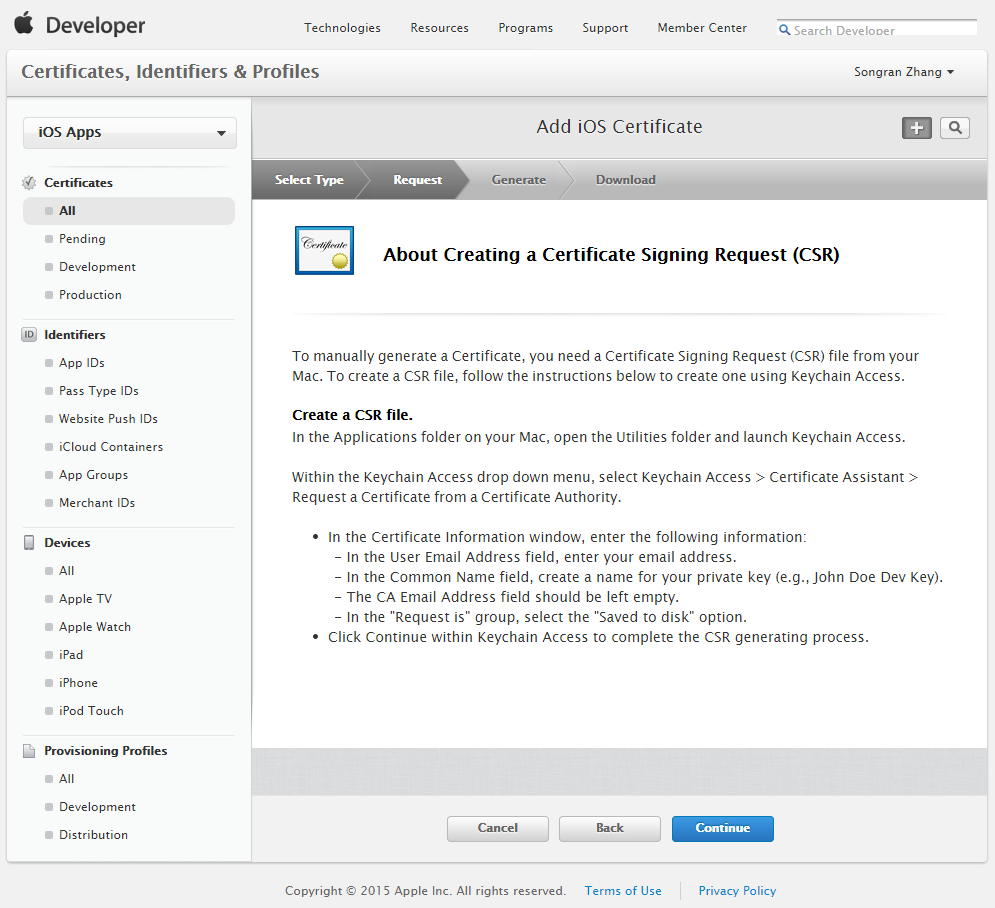
This step is that the need for a computer keychain profiles, click the "continue" to next step.
This step, we need to upload keychain profile.
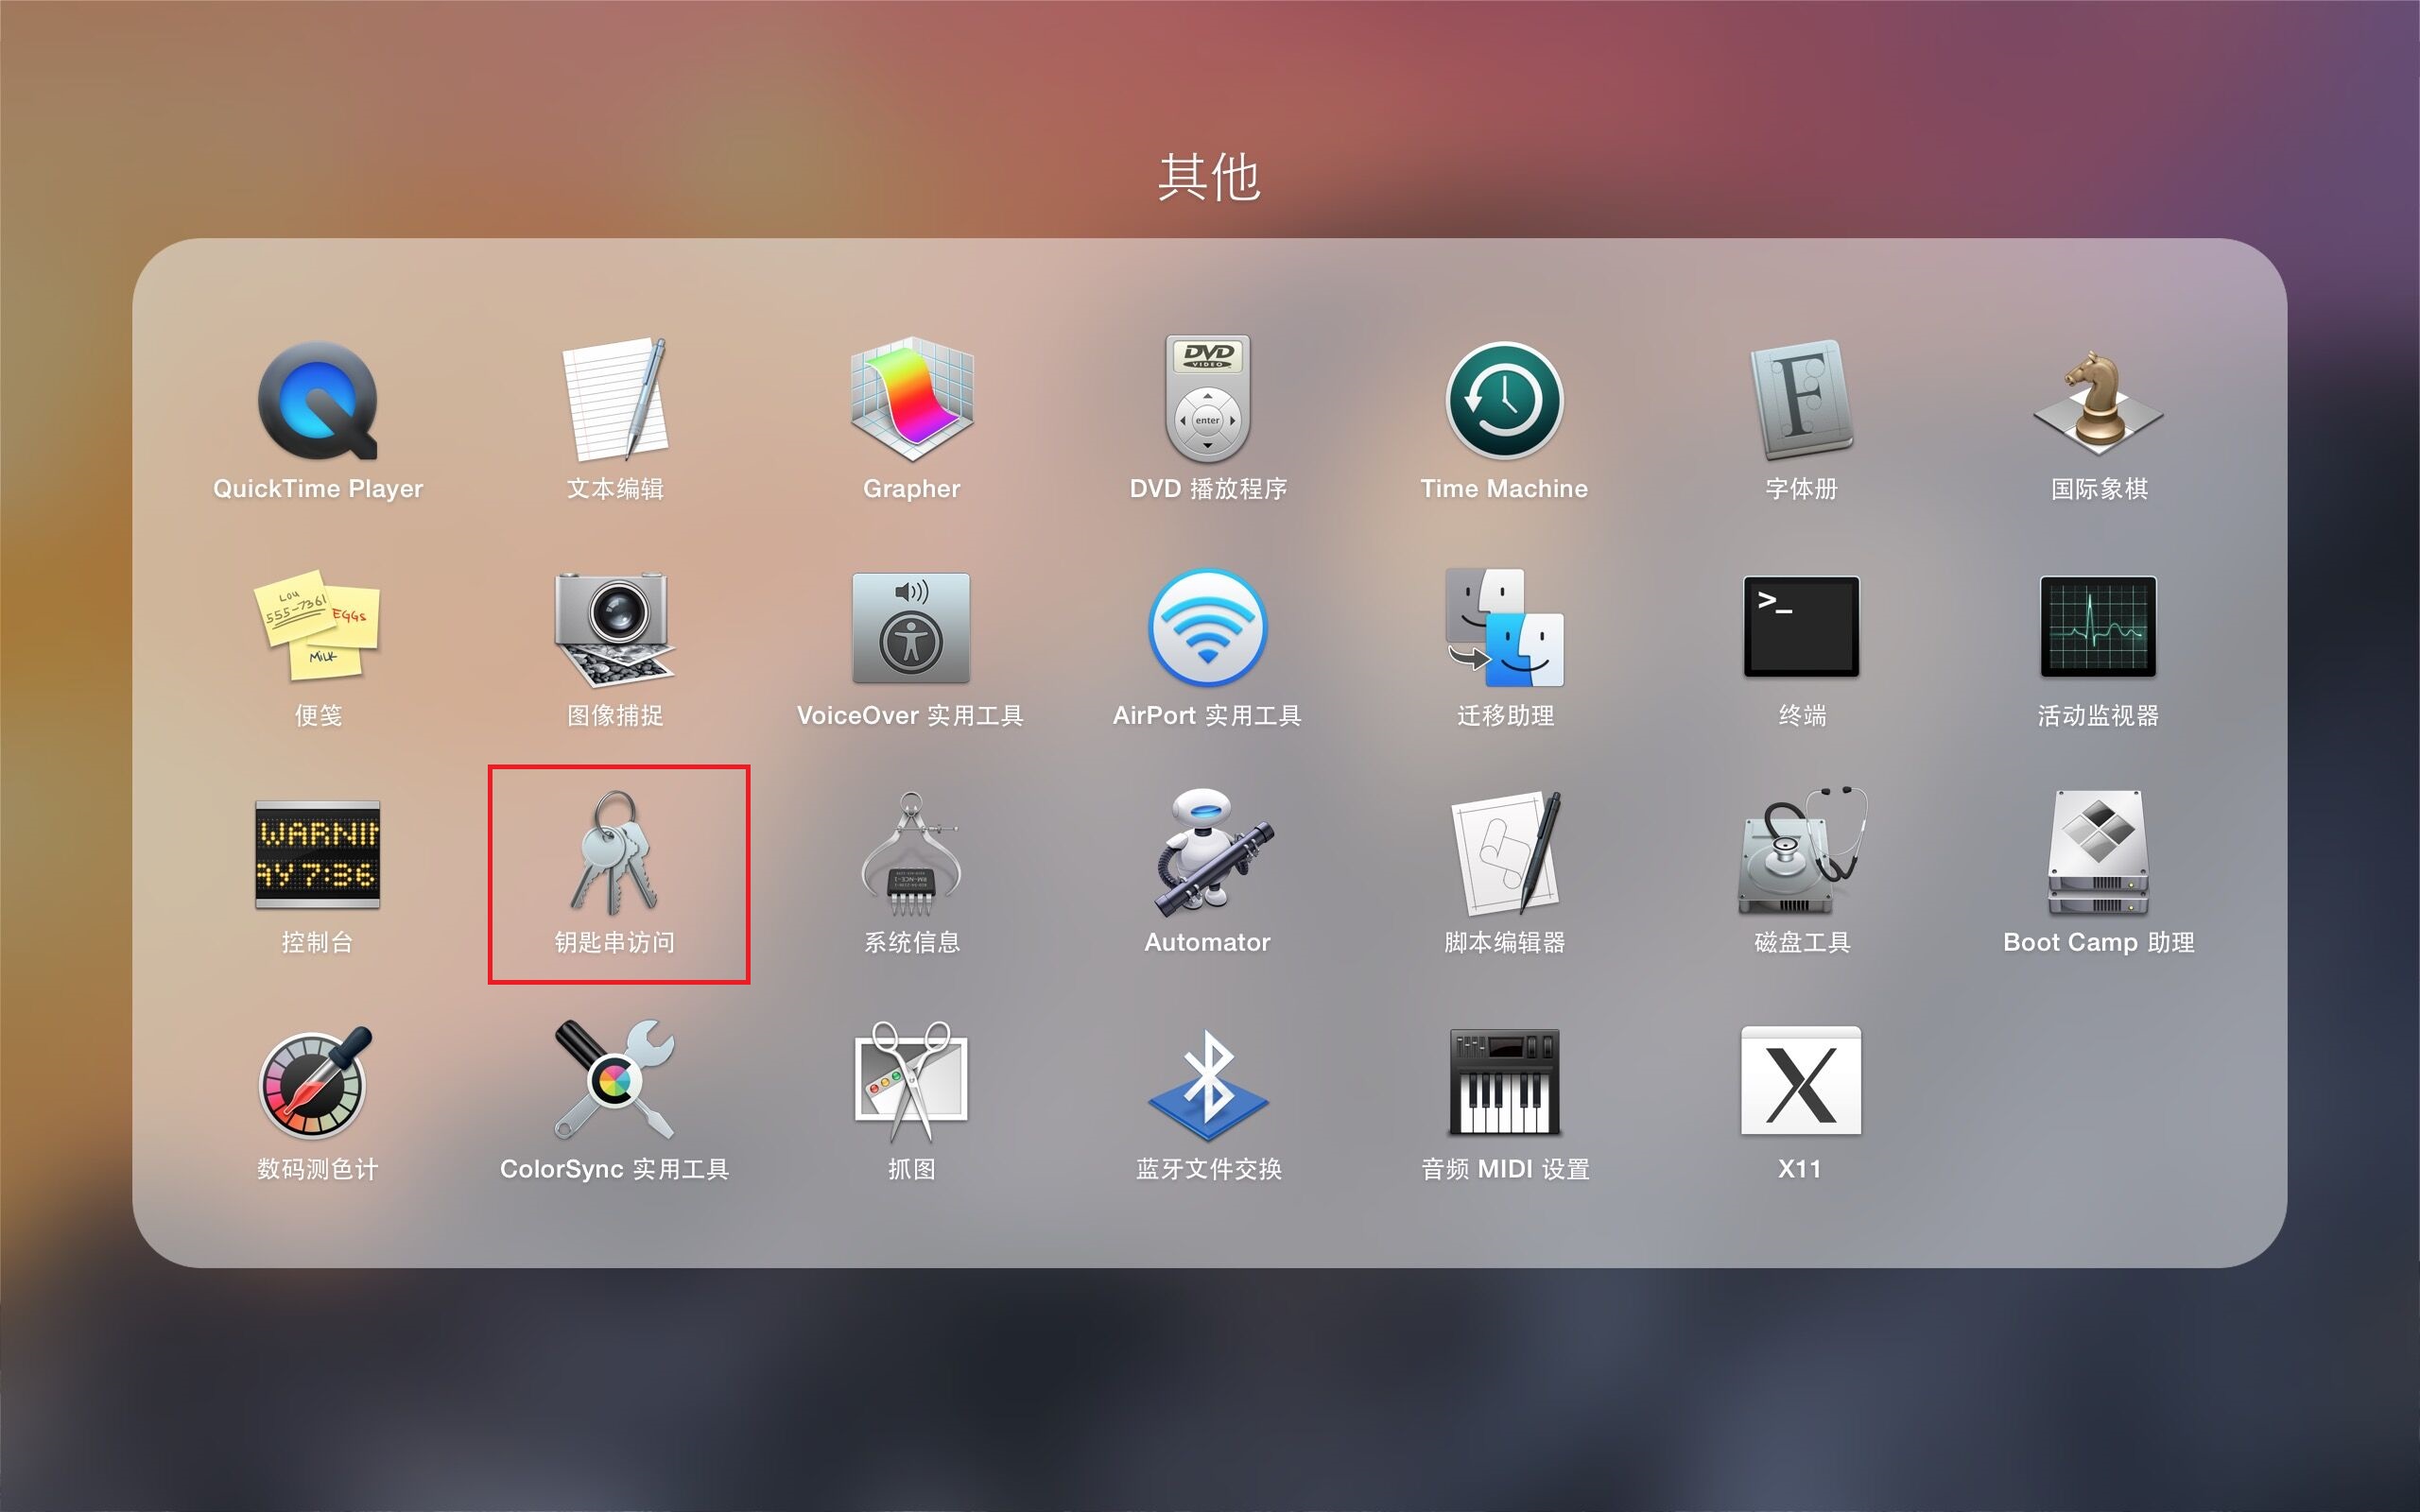
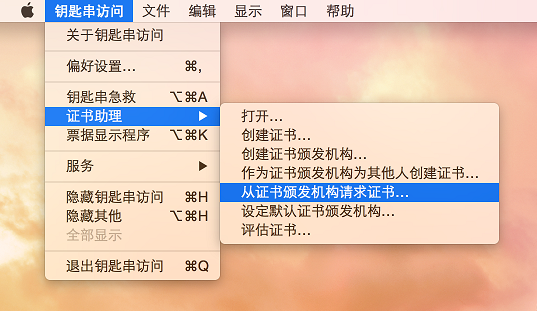
We open our Launchpad, find the "Keychain Access" after opening, select "Certificate Assistant" and select "Keychain Access" directory at the top of the navigation bar to request a certificate from a certification authority.
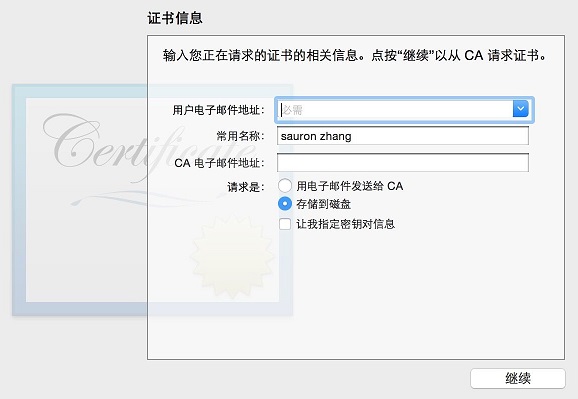
Fill mailbox, Select "Save to Disk". Click Continue, we have chosen a location for our file.
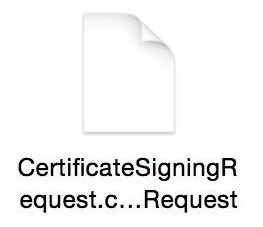
We find our keychain authorization documents on the desktop.
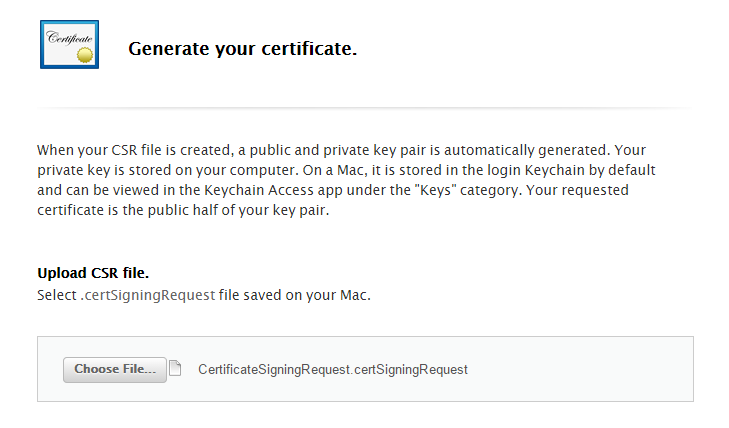
After we returned to the browser, we just need a place to upload and click "choose file", find for us just placed keychain profile places. Once selected, click "Open", click "Generate" to generate our license certificate.
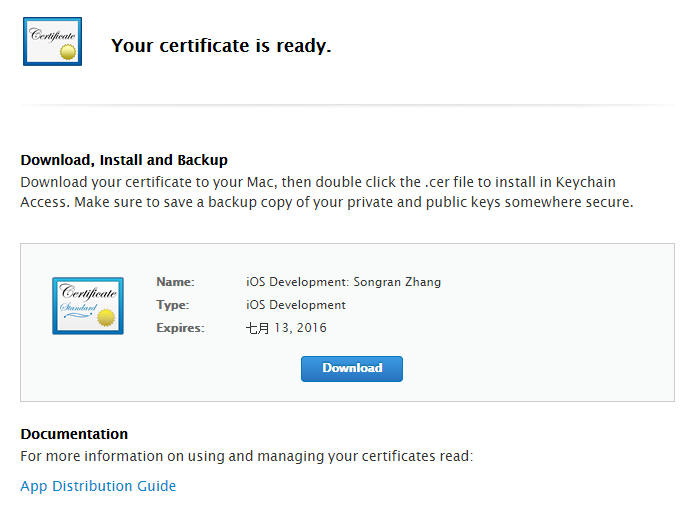
After generating, we will jump to the Download screen, tap the screen in the "Download" download.
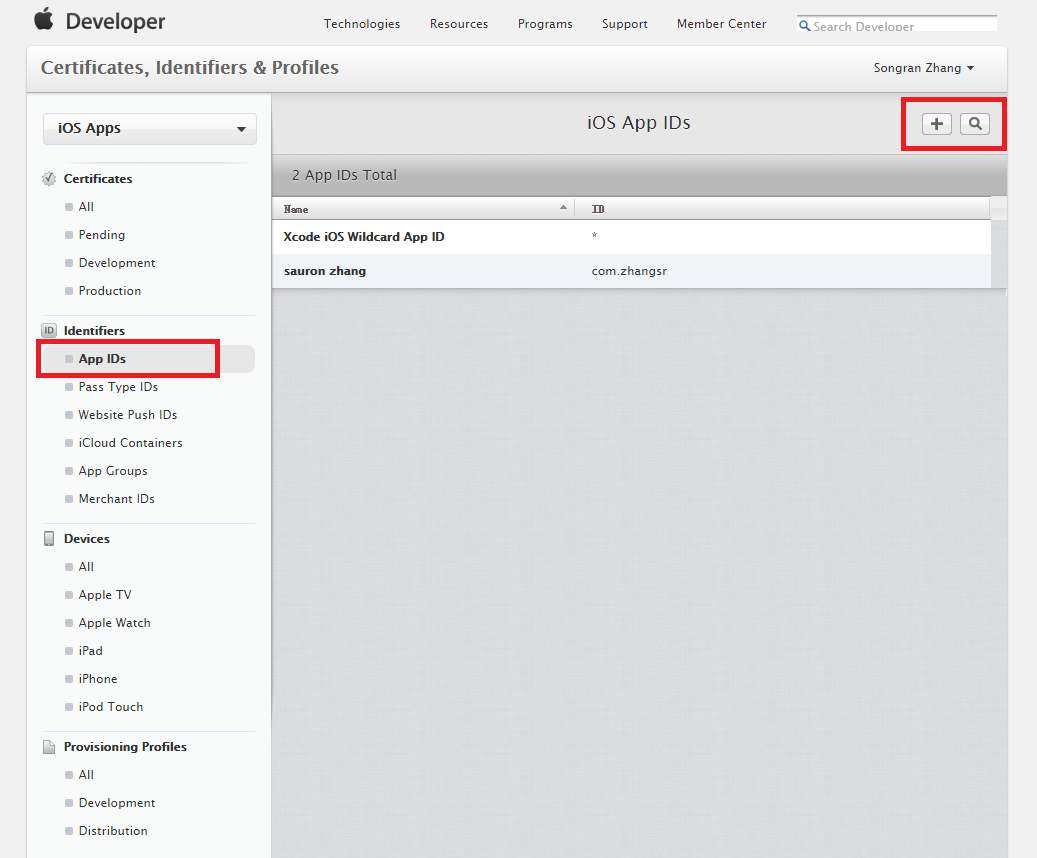
We have completed the first step, and then click on the "App IDs" in the left-hand menu "Identifiers" next, here is our project to create a label, which is commonly known as a signature, only to meet the project can be marked-device debugging.
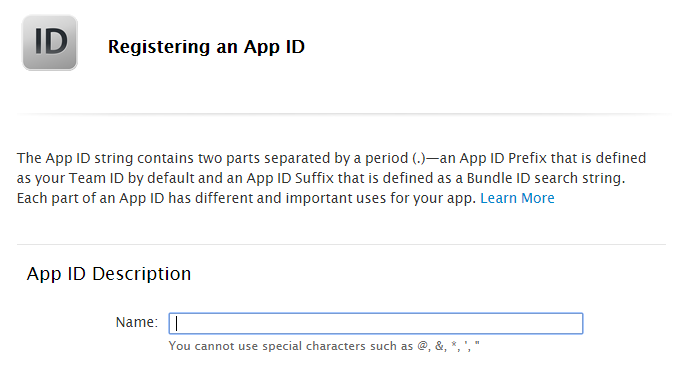
Here, we need to create the label, and in the "name" to fill the place name indicated, when the final step to facilitate a certificate, easily find label we created.
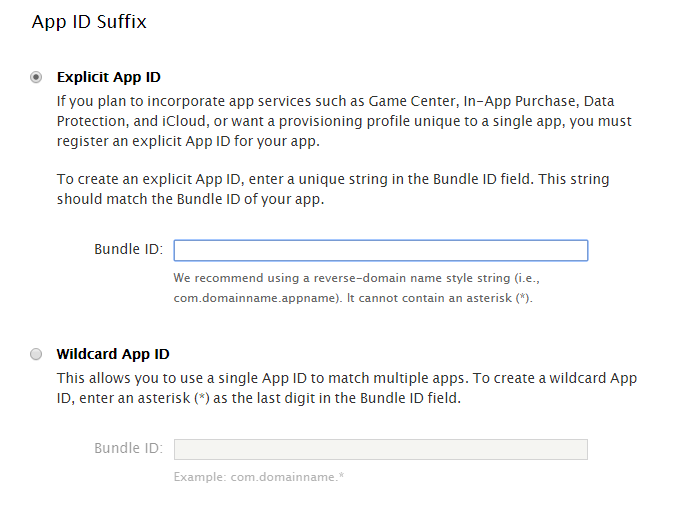
Still the same interface, we choose "App ID Suffix" in the "Wildcard App ID" inside "Bundle ID:".
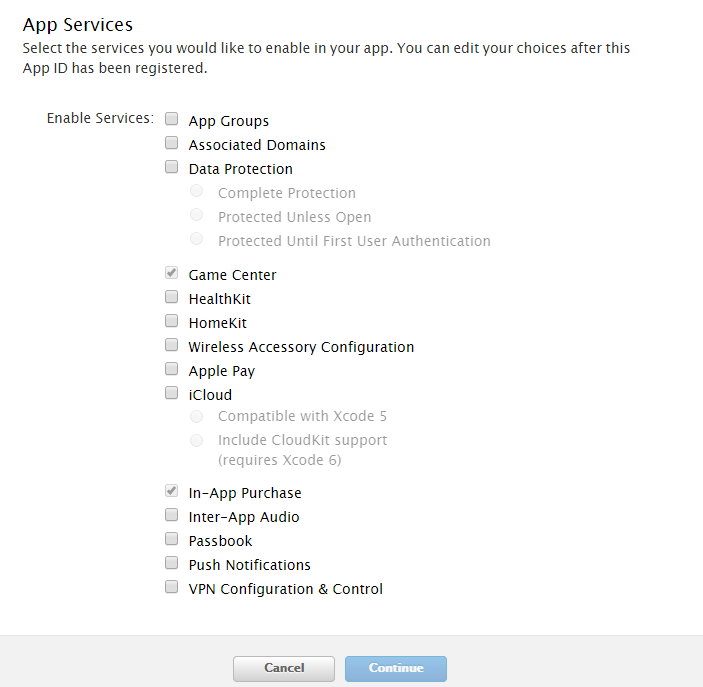
Then we click on the bottom "continue", the next step.
Check with the information, and then click on the bottom of the "Submit", released indicate that we created.
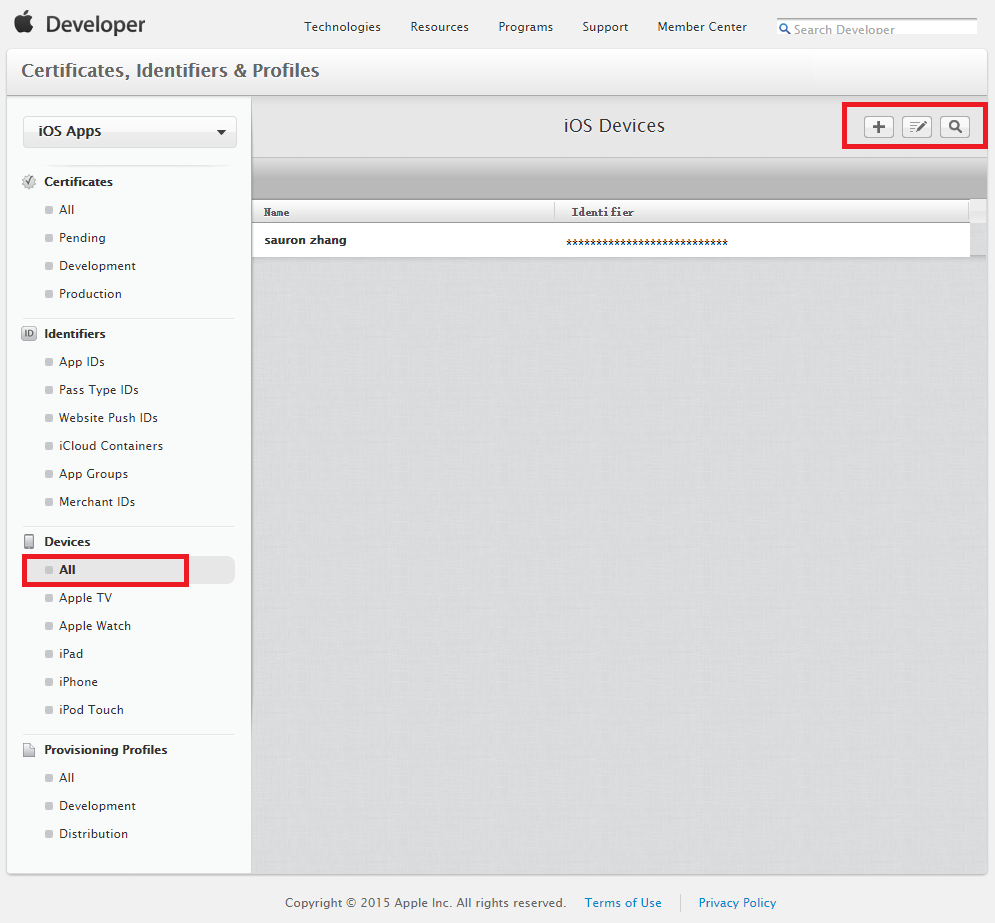
Click on the left in the directory "Devices", click on the top right of the same number "+".
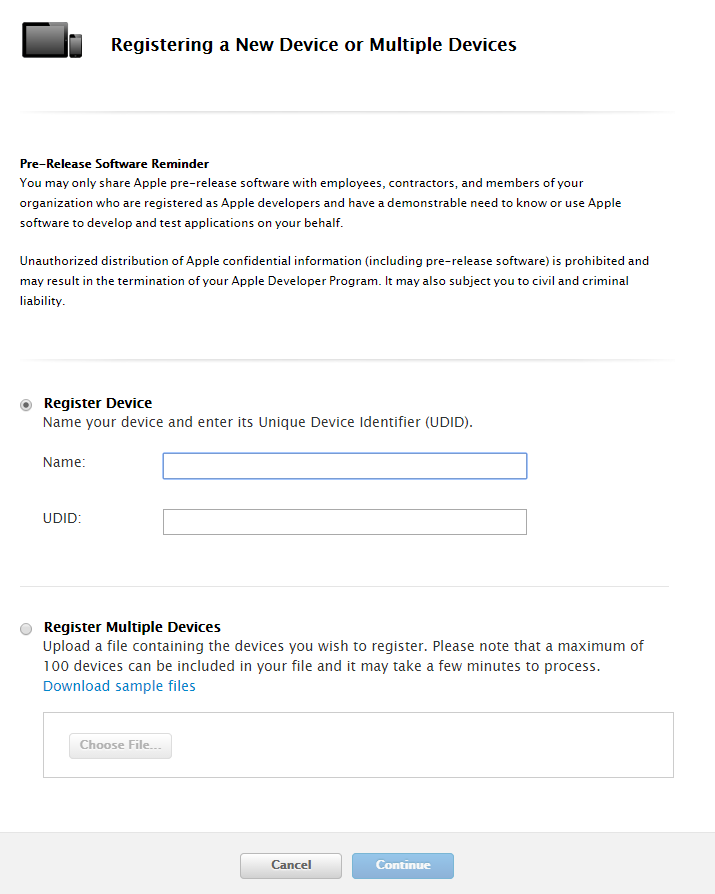
We can choose to add one device, you can also add multiple devices. After the "Register Device" inside the "Name" fill in the name of the device, connected to the corresponding device in the future, which will be displayed in Xcode that name. In the "UDID" which fill UDID device, this process needs to get through the phone or ITunes, ITunes come here I will get through, because ITunes own copy. (To connect the device debugging equipment, open ITunes, click on the device, tap interface serial number, will switch to the UDID, right there copy, paste copied directly enough.)
Then click interface at the bottom "Done" button to complete the addition of the device. Click on the left-hand menu bar, select "Provisioning Profiles" "All" directory, click on the top right of the same "ten" was added into the certificate interface.
We chose "iOS App Development" at the bottom of the screen click "Continue".
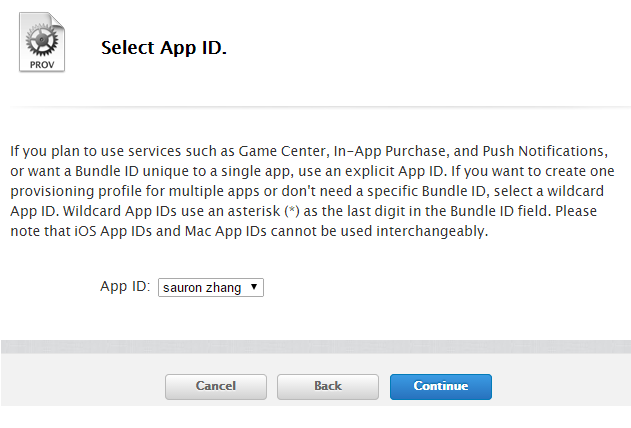
This step is the choice we have created representation (or signature), choose we created, must choose the right, marked more if you create, you can go under the name of our label that we created.
This step is to select our authorized computer, select the name of our options inside the following step generated certificate authority.
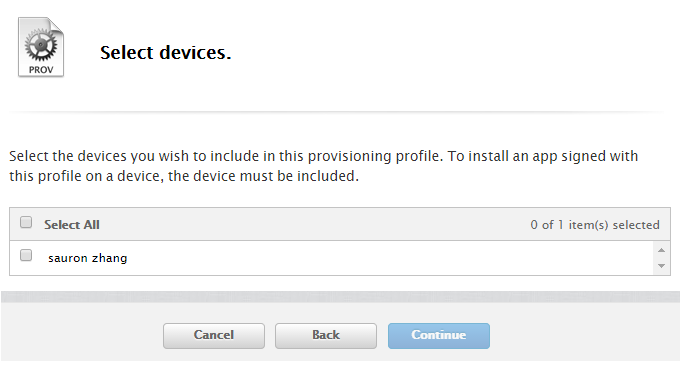
This step is the choice we need to make real machine debugging device, you can select the specific device we created, you can select all.
Fill in name, click on "Generate", to generate our final certificate.
Click on "Download" in the new interface, downloaded from the certificate is our ultimate certificates, still need to double, the double-click is installed Xcode.
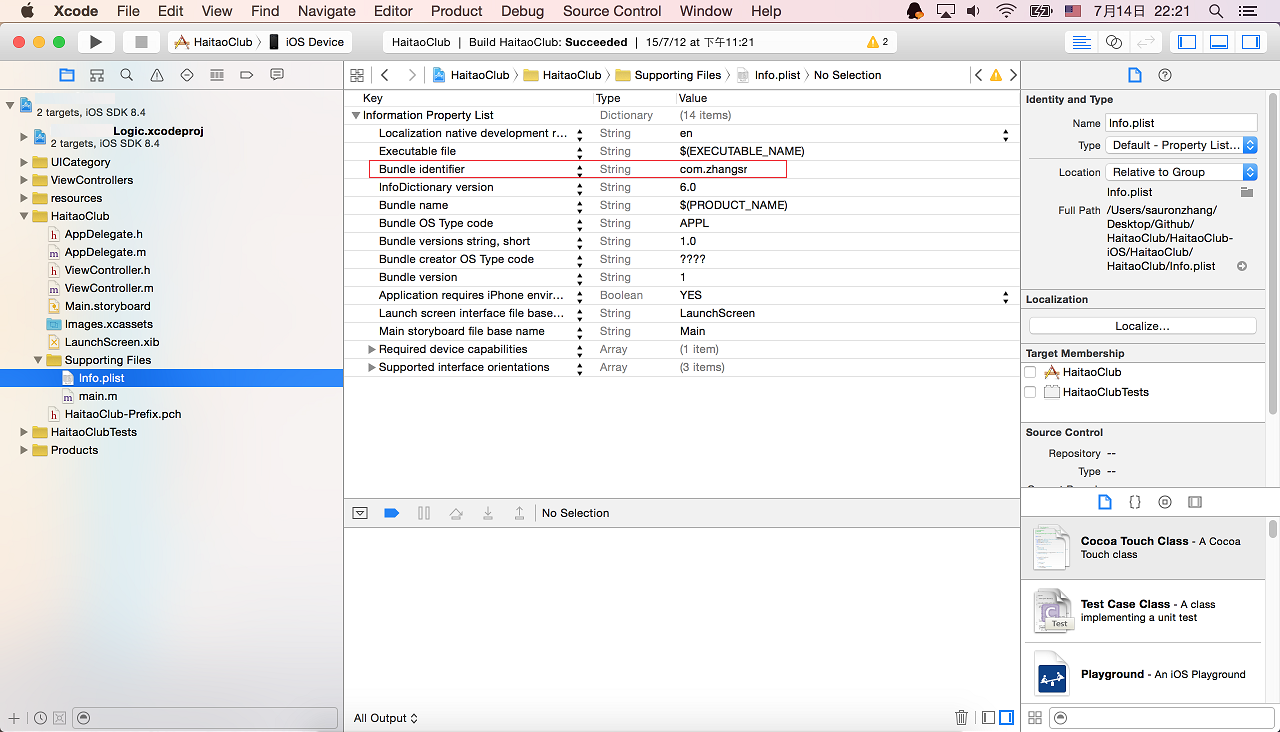
Open your project, the project name .plist file "Supporting Files" directory to select the project directory or under "info.plist" file, modify the inside of the "Bundle identifier" label, instead we just apply the label. If the project has Tests Test folder exists, then do the same test file info.plist modification.
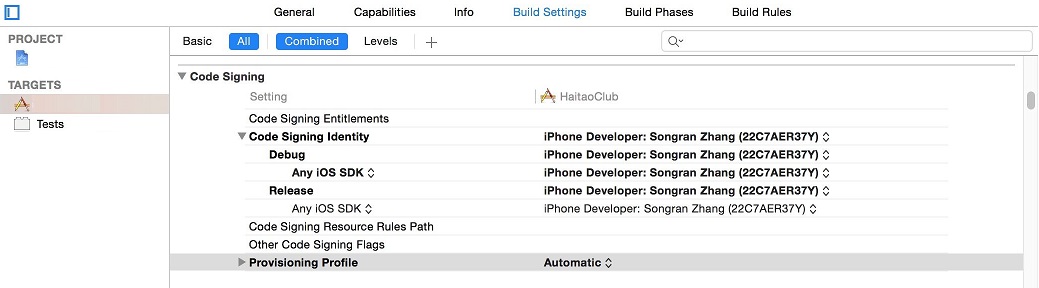
After that, open your project root directory, with the fate of the blue file, in the middle of nowhere to select the project file with that name "TARGET" under the surface of the far right in the lap inside select "Build Setting", and then locate the "Code Signing" option in the "Provisioning Profile" which select the certificate we created, by name found. After modifying the "Provisioning Profile" above "Code Signing Identity" to select the certificate authority certificate we found. All four options need to be modified.
Finally, we only have the last step, make sure the device is connected to the value of the computer, and in the unlocked state, next select Xcode Run "operating equipment" as shown, to find their own equipment, selection, operation, wait for it to load. 转载请并标注: “本文转载自 linkedkeeper.com ” ©著作权归作者所有 |